If you’ve just purchased a Linux VPS, securing it should be your first priority. A default VPS setup is vulnerable to brute-force attacks, bots, and automated scans within minutes of going online.
This complete guide will show you how to properly secure your Linux VPS step-by-step — even if you’re a beginner.
Why Securing Your VPS Is Critical
- Prevent brute-force SSH attacks
- Block malicious bots
- Protect your website and data
- Avoid server hijacking
- Improve overall performance and stability
Let’s secure your server properly.
Step 1: Update Your Server Immediately
apt update && apt upgrade -y
Keeping your system updated patches security vulnerabilities.
Step 2: Create a New Sudo User
Never use root for daily operations.
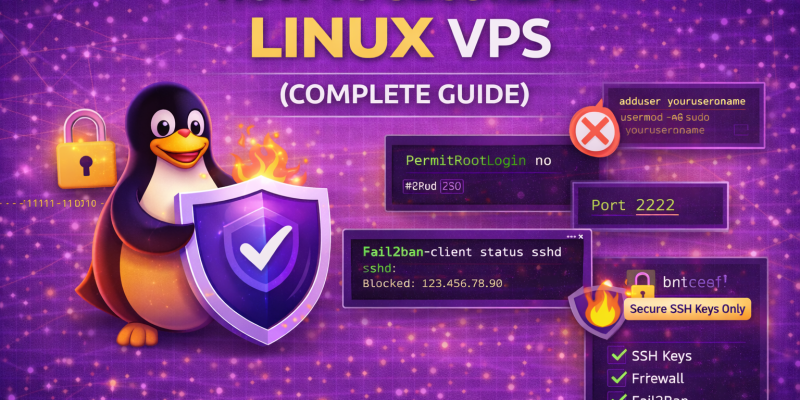
adduser yourusername
usermod -aG sudo yourusername
Login using your new user:
ssh yourusername@your-server-ip
Step 3: Disable Root Login
Edit SSH config:
nano /etc/ssh/sshd_config
Find and change:
PermitRootLogin no
Restart SSH:
systemctl restart ssh
Step 4: Change the Default SSH Port
Find this line:
#Port 22
Change it to something like:
Port 2222
Restart SSH after saving.
Step 5: Setup SSH Key Authentication (Disable Password Login)
Generate a key on your local computer:
ssh-keygen
Copy key to server:
ssh-copy-id -p 2222 yourusername@your-server-ip
Then disable password login in sshd_config:
PasswordAuthentication no
Step 6: Install and Configure UFW Firewall
apt install ufw -y
ufw default deny incoming
ufw default allow outgoing
ufw allow 2222/tcp
ufw allow 80
ufw allow 443
ufw enable
Step 7: Install and Configure Fail2Ban
apt install fail2ban -y
systemctl enable fail2ban
Edit jail.local:
[sshd]
enabled = true
port = 2222
maxretry = 3
bantime = 86400
Step 8: Install Automatic Security Updates
apt install unattended-upgrades -y
dpkg-reconfigure unattended-upgrades
Step 9: Enable Swap (Optional but Recommended)
fallocate -l 1G /swapfile
chmod 600 /swapfile
mkswap /swapfile
swapon /swapfile
Step 10: Secure Shared Memory
Add this to /etc/fstab:
tmpfs /run/shm tmpfs defaults,noexec,nosuid 0 0
Step 11: Install Malware Scanner
apt install clamav -y
freshclam
Step 12: Monitor Your Server
Install Netdata:
bash <(curl -Ss https://my-netdata.io/kickstart.sh)
Optional Advanced Security Measures
- Disable unused services
- Hide SSH version
- Install CSF firewall
- Configure rate limiting
- Setup log monitoring alerts
Security Checklist Summary
- ✔ System updated
- ✔ Root login disabled
- ✔ SSH port changed
- ✔ SSH keys enabled
- ✔ UFW firewall configured
- ✔ Fail2Ban active
- ✔ Automatic updates enabled
Common Mistakes to Avoid
- Enabling firewall before allowing SSH
- Disabling password login before adding SSH keys
- Closing SSH session before testing new port
- Forgetting to restart SSH after changes
Final Thoughts
A properly secured Linux VPS dramatically reduces the risk of hacking, brute-force attacks, and service interruptions.
If you follow this guide step-by-step, your server will be significantly more secure than a default installation.
Need a Secure VPS?
If you're looking for a high-performance Linux VPS with reliable uptime and support, check out our VPS plans.